Creating MunkiReport Modules Part 1
30 November 2018 on macOS and MunkiReport. 4 minutes
Recent changes with MunkiReport have decoupled the modules from the core of the MunkiReport project. Many thanks to Arjen van Bochoven (@bochoven) for all the hard work in bringing this to reality. I’ve seemed to pick an interesting time to learn how to create modules and I wanted to share some things I’ve learned along the way. Also big thanks to John Eberle (@tuxudo) and Zack McCauley (@zack_mccauley) for their help and patience getting me this far.
Setup a Dev Environment
Coming into this process, I thought this would be a tough thing to get started. Turns out it’s not! There are a couple small prereqs:
- you need munki installed locally (if you want to enroll your machine to test)
- you need to get
composerinstalled locally, which is an exercise that will be left up to the reader. Install Composer will get you started. (the installer assumes you have things likewgetinstalled, and it’s recommend to install withbrew, so it just depends on your current dev env)
Once composer is installed and working, this script will get munkireport running for you:
#!/bin/bash

dev_site_root=~/Documents/munkireport
git clone https://github.com/munkireport/munkireport-php.git $dev_site_root
cd $dev_site_root

#### Choose the branch to load:
git checkout main
# git checkout wip
# git checkout tags/v3.2.6

git pull

# echo '<?php' > config.php # needed for < v4
echo 'AUTH_METHODS="NOAUTH"' > .env

# Install dependencies (and modules!)
composer install --no-dev --no-suggest

# Run Migrations!
./please migrate

# Start the Webserver!
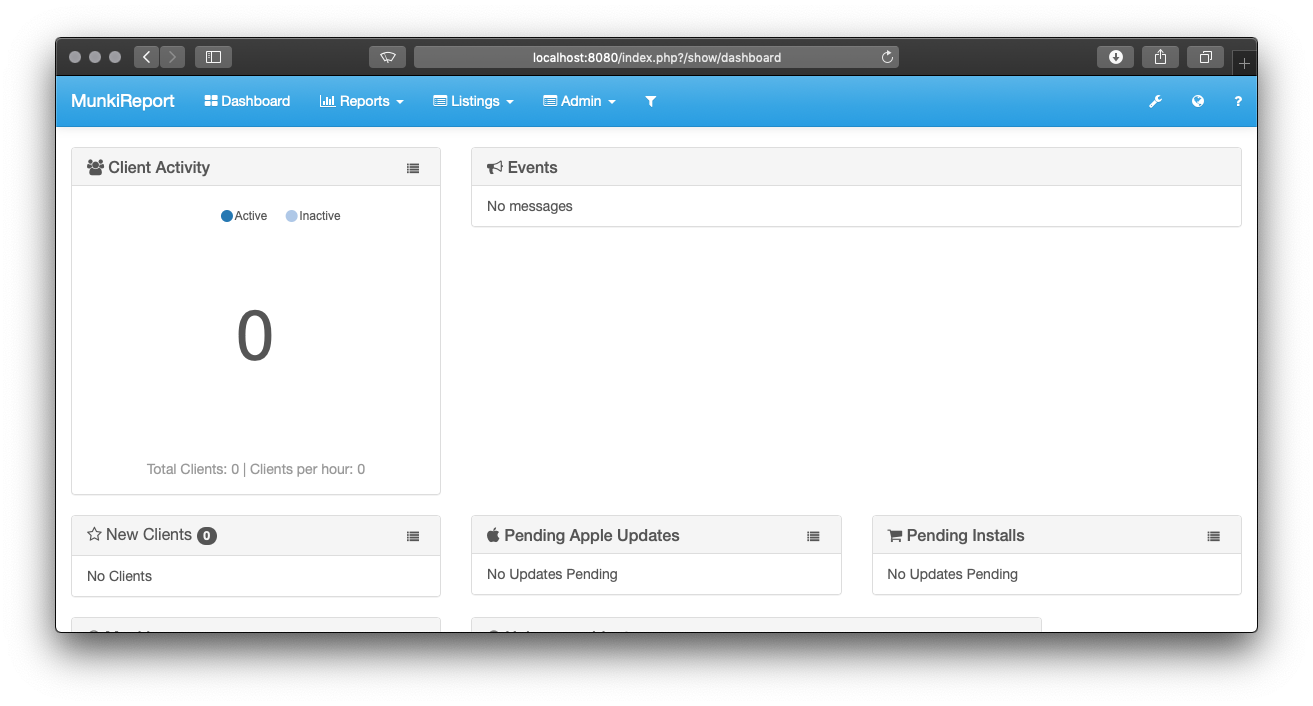
php -S localhost:8080 -t public

Depending on your needs, you may want to add stuff to the .env or config.php file, but running as is will get you started with a dev site running at http://localhost:8080. Also, don’t be afraid to walk through the commands one by one to understand what each one does.
To enroll a test machine (I just use my machine for this) run:
sudo /bin/bash -c "$(curl -s http://localhost:8080/index.php?/install)"
If you have your machine enrolled in another instance, you’ll obviously need to change it back when you’re done if you want it to check back in to that one.
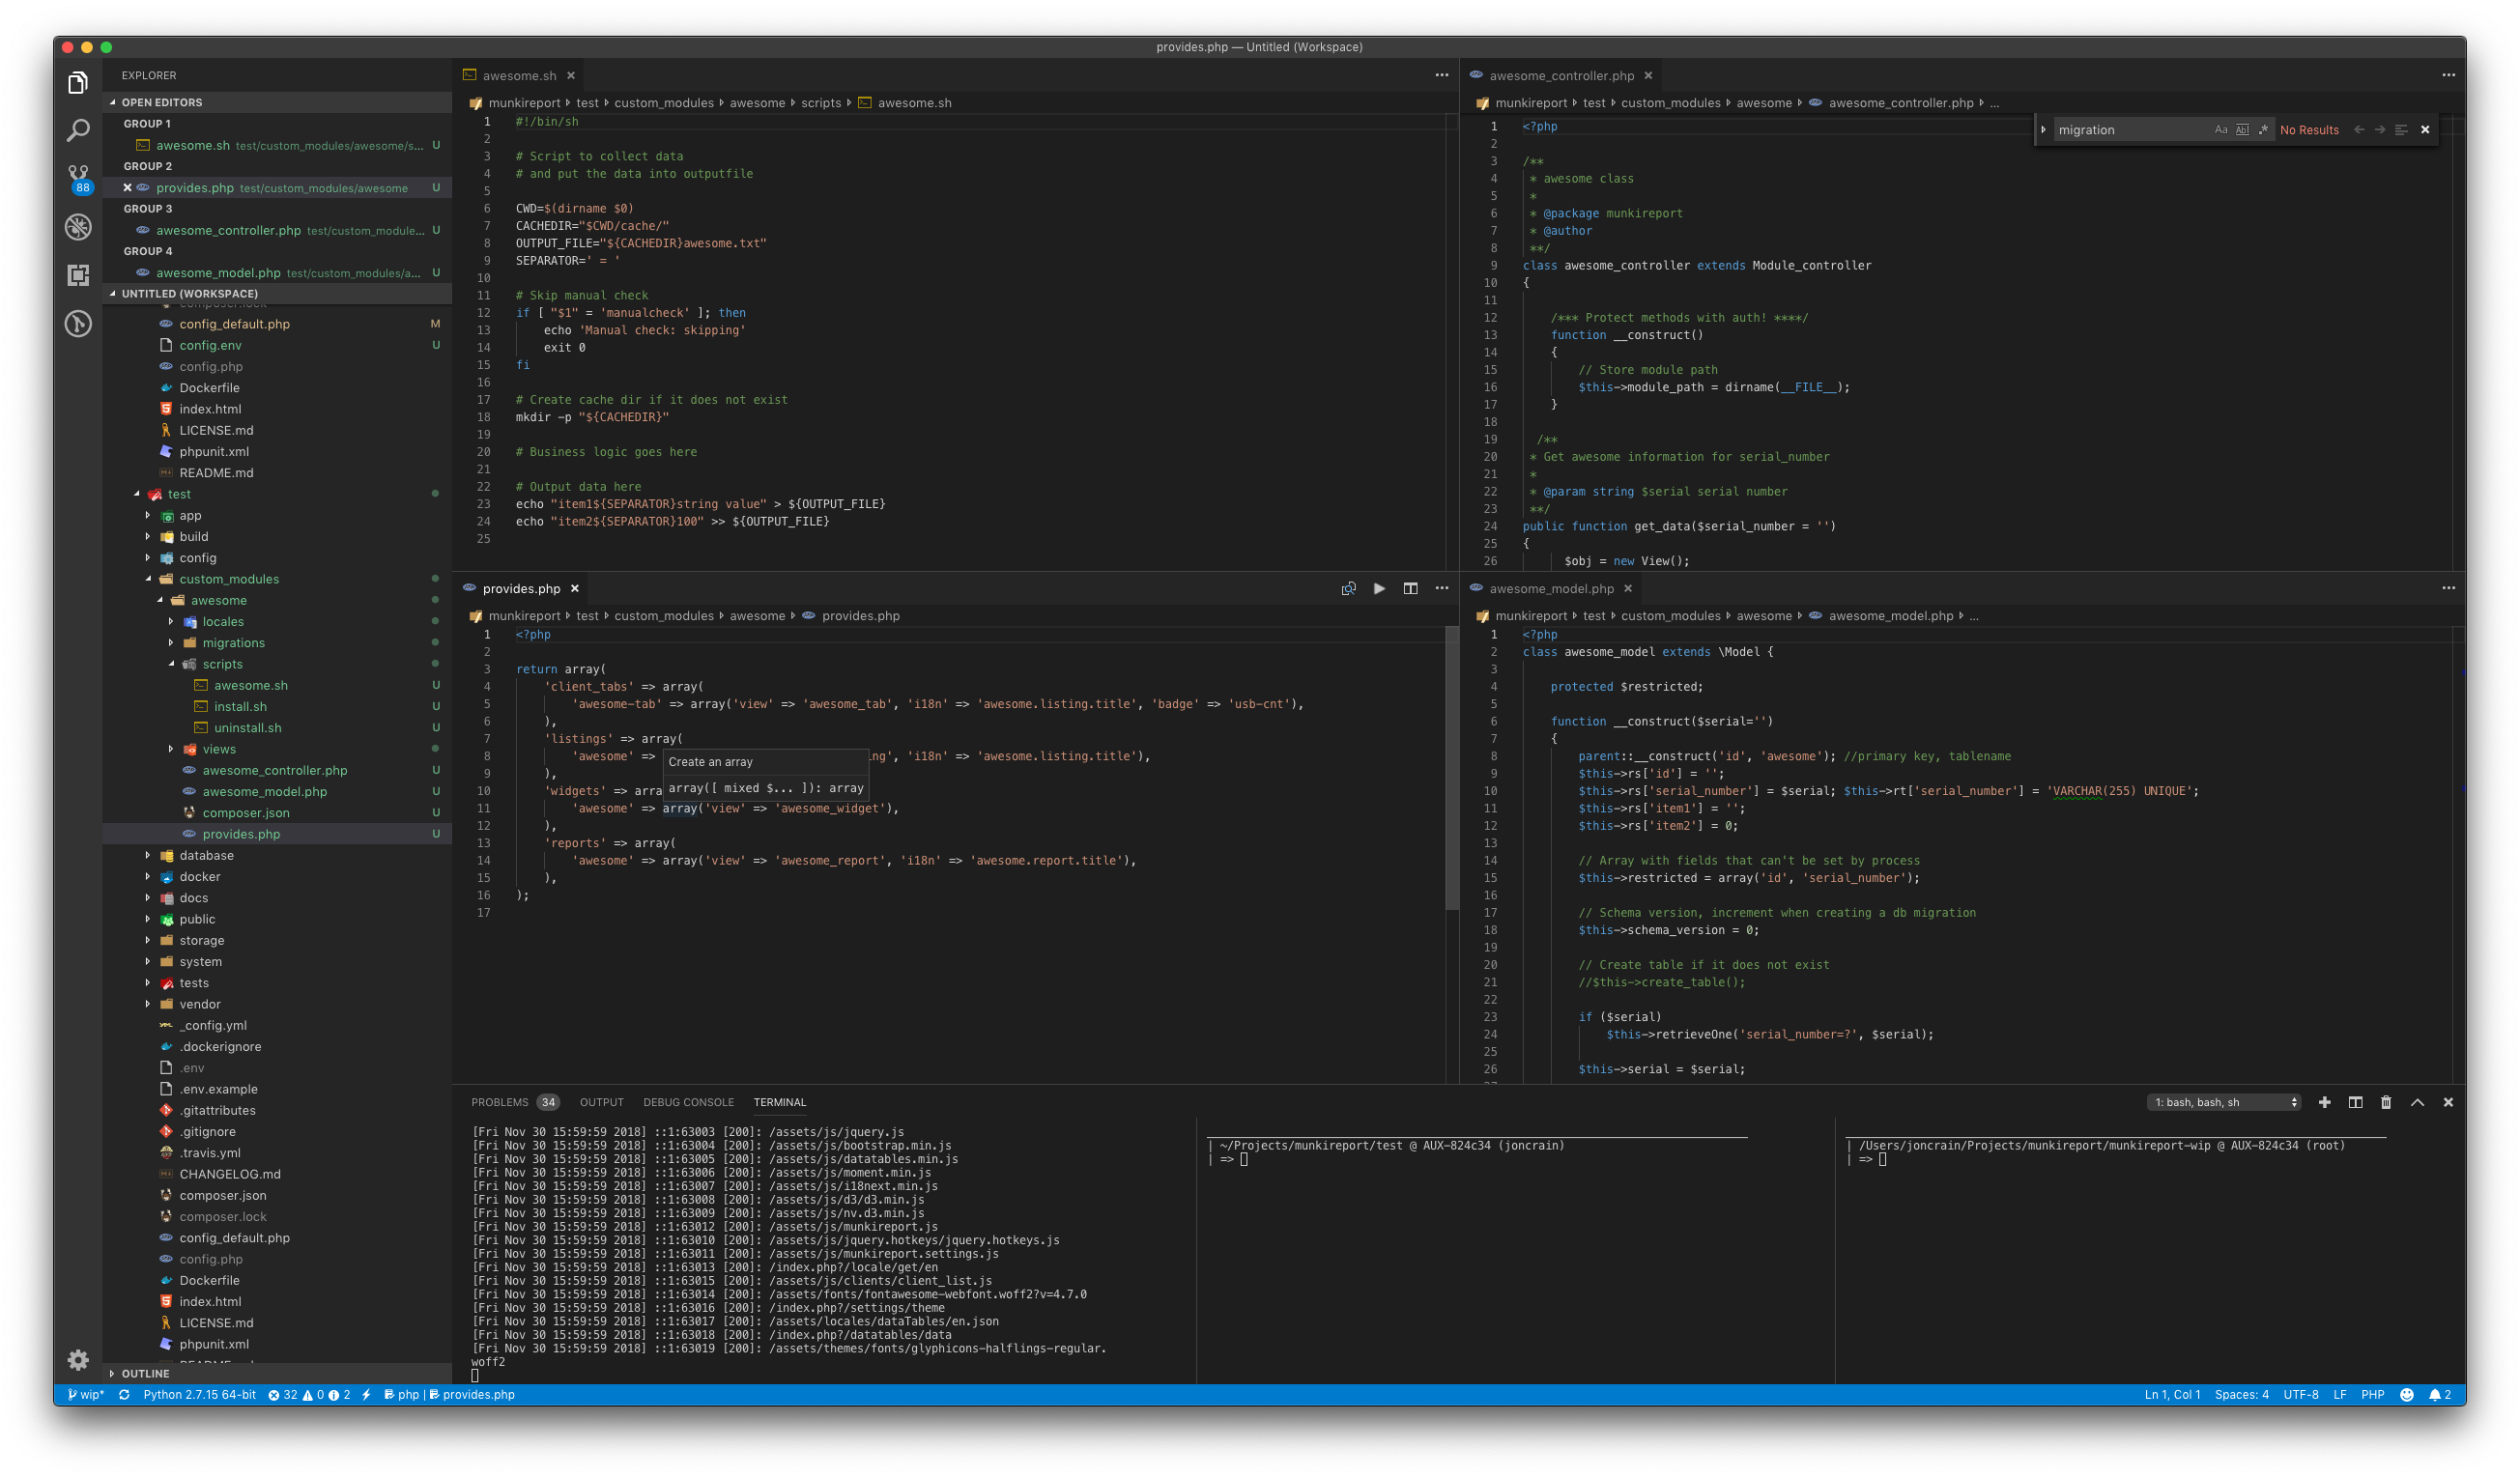
I keep a script like this ready on my computer and make updates as needed to get my environment up and running quickly. I’ve been digging the built in terminal of VS Code lately and have the site running in one tab, with a couple of other terminal tabs open for other edits.

Create a Module from the Module Template
There is now a please command for building a module. Simply run please make:module and most of the work is done! Feel free to read through these articles to better understand the inner workings of modules.
There is a (not well publicized) script for building modules located in the build directory. To utilize the script you need to:
- configure a custom module directory
- add the custom module directory to your
.env - call the
addmodule.shscript from that directory using the new module name as the argument.
Here is an example script which will do it for you:
#!/bin/bash
dev_site_root=~/Documents/munkireport
module_name=awesome

cd $dev_site_root
mkdir custom_modules
cd custom_modules
##### this will edit the .env to add the full path to the custom_modules dir
echo "MODULE_SEARCH_PATHS=$(pwd)" >> ../.env
##### the actual script
../build/addmodule.sh $module_name
##### this will make sure that the new module and all default modules are loaded
echo "MODULES='$module_name,munkireport,managedinstalls,disk_report'" >> ../.env
Your new module should be available at http://localhost:8080/index.php?/show/listing/awesome/awesome!

I went ahead and combined the setup and new module scripts into a gist.