Creating MunkiReport Modules Part 6
24 August 2019 on macOS and MunkiReport. 4 minutes
We’ve finally made it near the end. We have our client pushing data to the server and we have our functions to process the data. Finally, we need to present the data.
Presenting the Data - Listing
Now in Part 2, we looked at a basic overview of the different views available. In this section we will dive deeper into how to work with the listing view.
All the available views are defined in the provides.yml file.
Listing
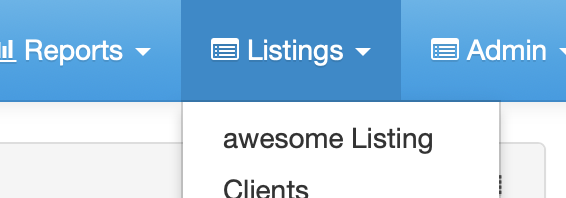
The listing will show up under the Listings heading

As of MunkiReport 5.0, the listing itself has been modularized and we have a much simpler look to the awesome_listing.yml file.
i18n_title: awesome.listing.title
table:
    -
        column: machine.computer_name
        i18n_header: listing.computername
        formatter: clientDetail
        tab_link: awesome-tab
    -
        column: reportdata.serial_number
        i18n_header: serial
    -
        column: awesome.item1
        i18n_header: awesome.listing.item1
    -
        column: awesome.item2
        i18n_header: awesome.listing.item2
i18n
By default all the internationalization (i18n) text is included in the locales/en.json file. If we want to make changes to the title of the listing or the column headers, we need to update in the i18n file(s). By default it will look like this:
    "listing": {
        "title": "awesome Listing",
        "item1": "Item number one",
        "item2": "Item number two"
    },
Column
To control each column in the listing we need to edit the column key to be an actual field in our database. (We constructed these in Part 5). While we could add all of the data in the database, it makes more sense to limit the listing to only the data that we want to aggregate or filter on. By default most listings have the first two columns of computer name and serial number, so we will keep those in there, and then for the rest I’m going to keep it basic and add only name, path, and keep_alive.
    -
        column: awesome.name
        i18n_header: awesome.listing.name
    -
        column: awesome.path
        i18n_header: awesome.listing.path
    -
        column: awesome.keep_alive
        i18n_header: awesome.listing.keep_alive
        formatter: binaryYesNo
Since we updated the i18n as well we update our en.json to:
    "listing": {
        "title": "Awesome",
        "name": "Name",
        "path": "Path",
        "keep_alive": "Keep Alive"
    },
Formatter
Because all of the data in the database may not be stored in the proper display format, some javascript has been provided to help in displaying the data properly. You can see the built in formatters at munkireport_settings.js. In the examples above we are utilizing the clientDetail and binaryYesNo formatters. This can be further customized by an individual module by creating a link in the listing to the javascript file:
js_link: module/machine/js/machine
See the machine module as an example.
Tab Link
I nearly forgot this one! tab_link: awesome-tab refers to the summary page link that clicking the hostname will take you to. If you are not creating a summary page, take out this line and it will link to the main client summary page.
Conclusion
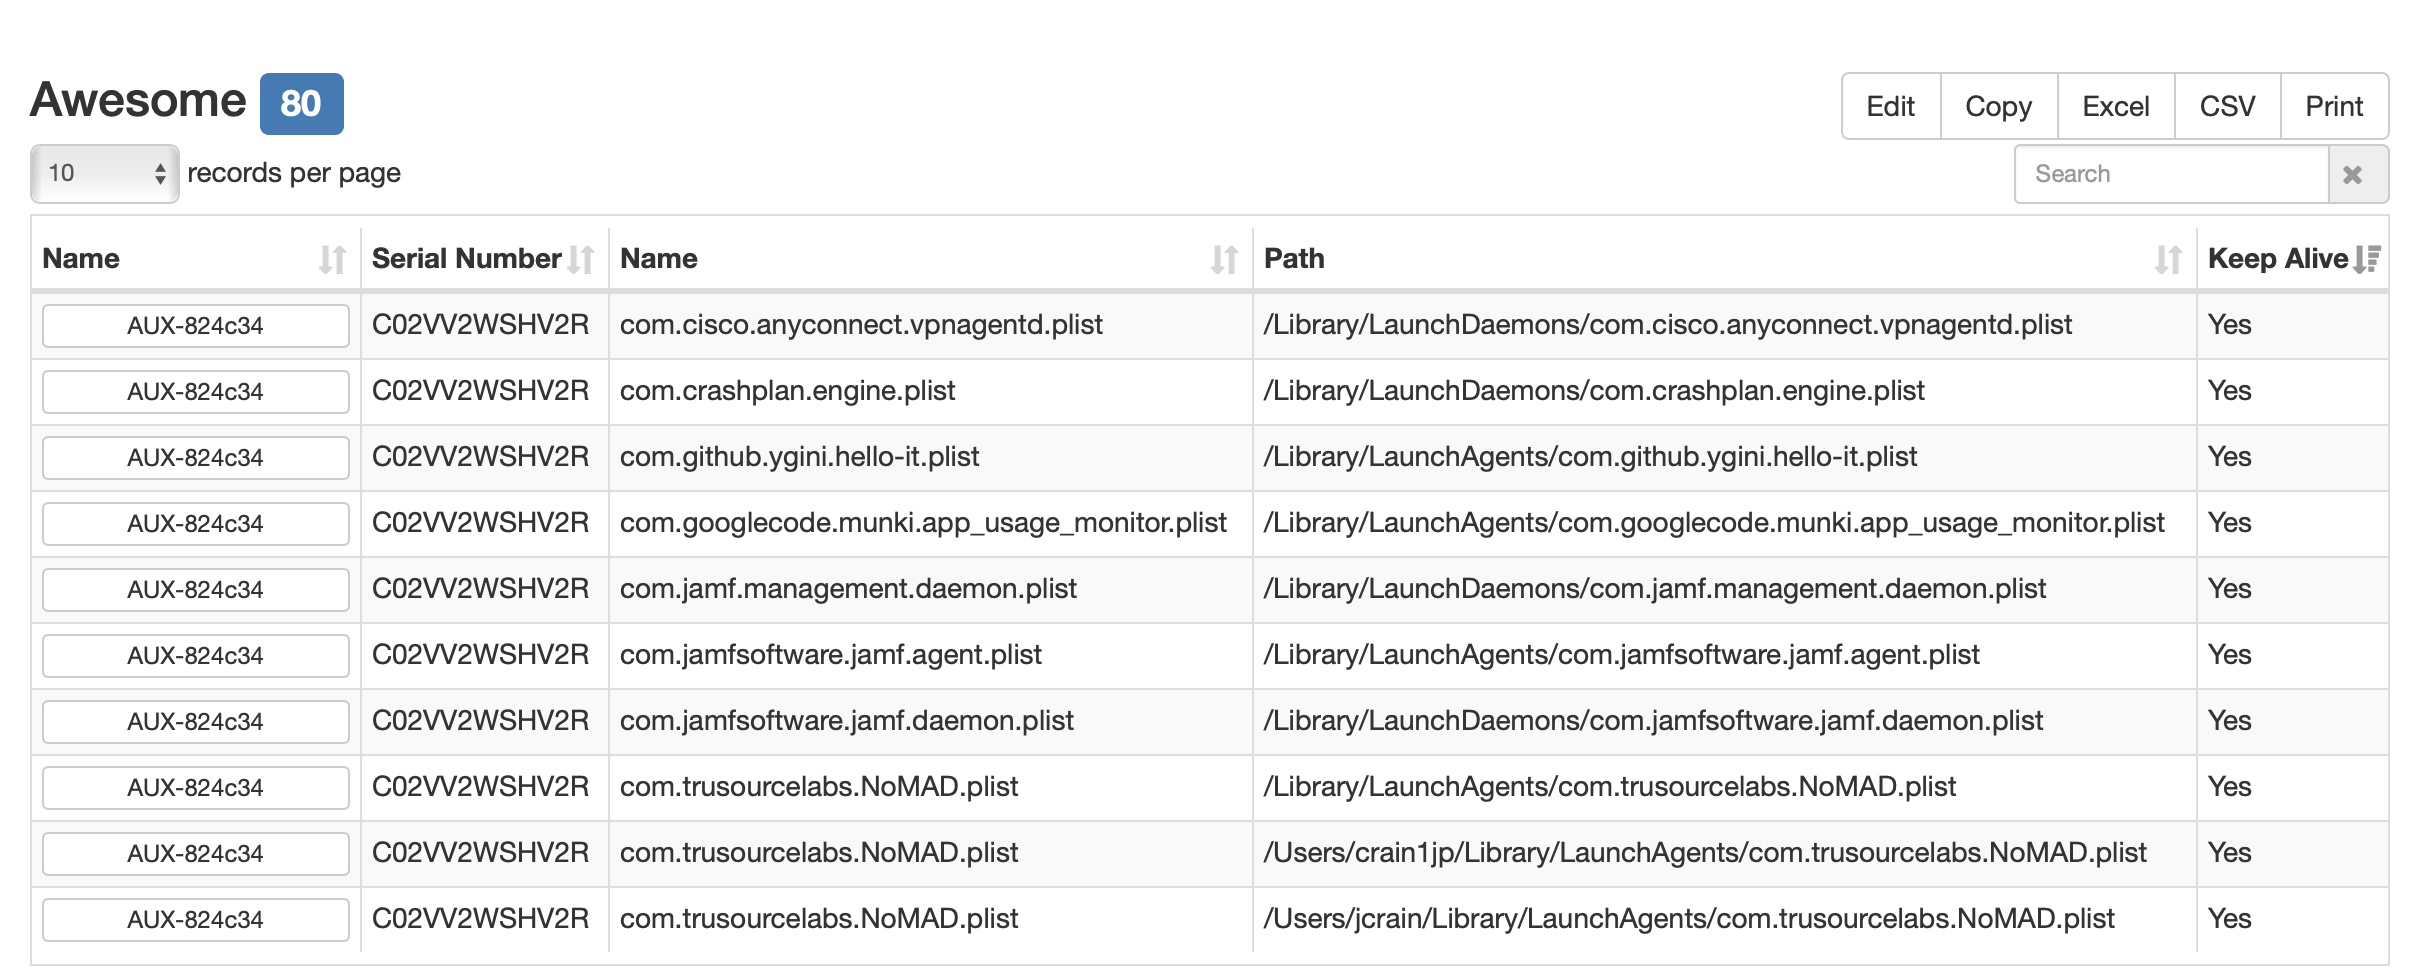
Here is the view of our listing now!

There is a lot of power in the new listing format to easily create what your module will need. Arjen has done a great job of simplifying the format which allows for easy creation of the listing file. As always join us in the #munkireport channel in MacAdmins Slack to chat!